
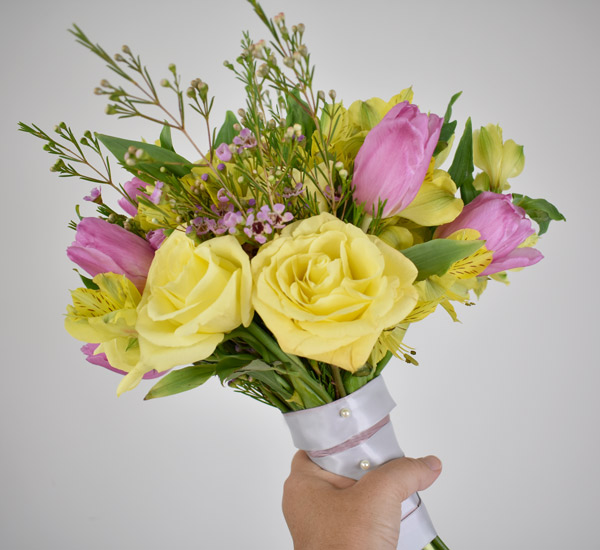
When you pick yellow wedding flowers for your DIY bouquet, it will add positive, joyful sentiments to your wedding. Picking yellow flowers brings a warmth to your wedding and will fit into any theme, rustic-chic, modern, and traditional. Don’t be afraid to mix your yellow flowers with various colors or keep it monochromatic. Pantone has chosen yellow for the year’s color because it boosts our endorphins and makes all of us happy! We have created this DIY cheerful wedding bouquet, perfect for a March to September wedding. Use a variety of the flowers listed below. Be sure to check out the supplies list and how-to steps below to recreate this yellow wedding bouquet!
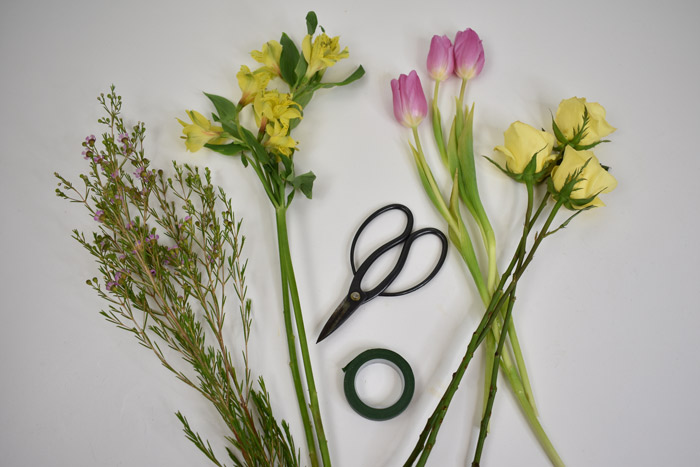
Supplies you will need:
14-18 stems of Yellow Roses
10 stems of Pink Tulips
8 stems of Yellow Alstroemeria
6-8 stems of Pink Wax Flower
Floral Tape
Floral Scissor
Optional- Zip Tie
Yellow DIY Bouquet “How-To” Steps:
Step 1- Prep your flowers
To make sure your wedding flowers and flower arrangements are their most beautiful and long-lasting, please carefully follow these guidelines when handling your flowers. If your roses have thorns, de-thorn your roses. Use your hands, knife, or a stem stripper to remove all foliage and thorns from the stems. To remove the thorns by hand, apply slight stress to the sides plus then push them through the stem. If using a paring knife to remove thorns, scrape them from the stem carefully using a sharp floral or partnering knife.
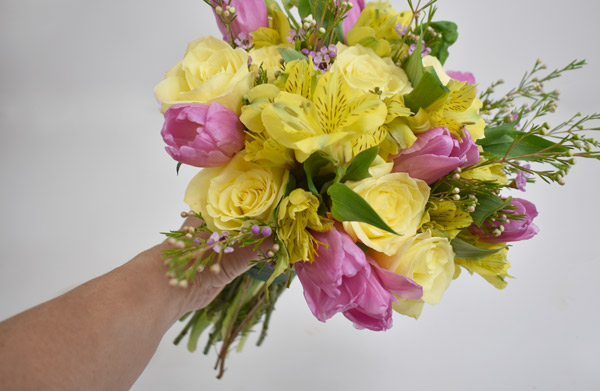
Step 2- Start Putting Your Bouquet Together
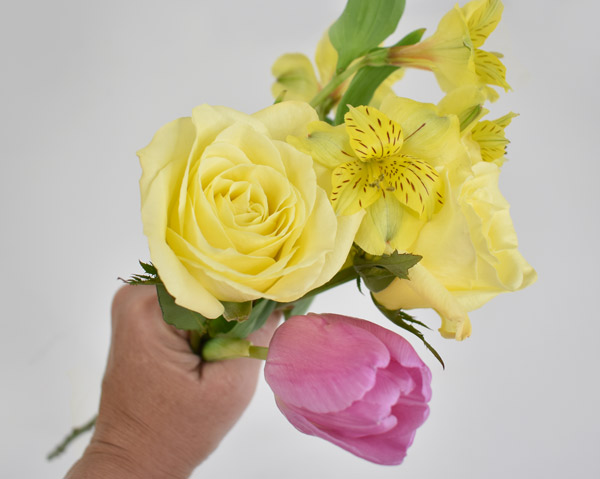
Start to build the base of your bouquet. Choose 2 yellow roses, 1 stem of the purple tulips, 1 stem of alstroemeria, and start building from the inside of the bouquet to out.
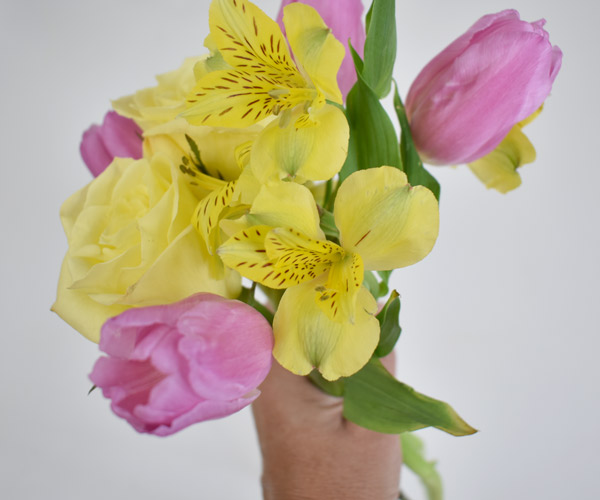
Step 3- Build Up Your DIY Bouquet
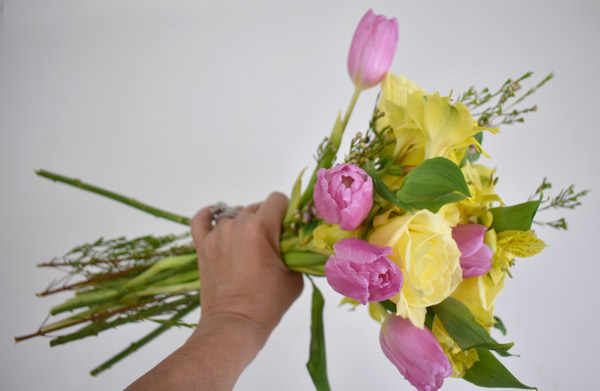
Begin wrapping the bouquet stems 1 to 1 1/2 inches from the flower blooms. Continuously wrap your bouquet with floral tape. Leave between 1-4 inches of stem exposed depending on your personal preference.
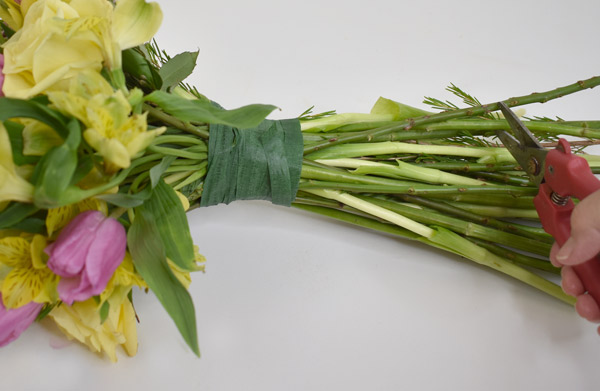
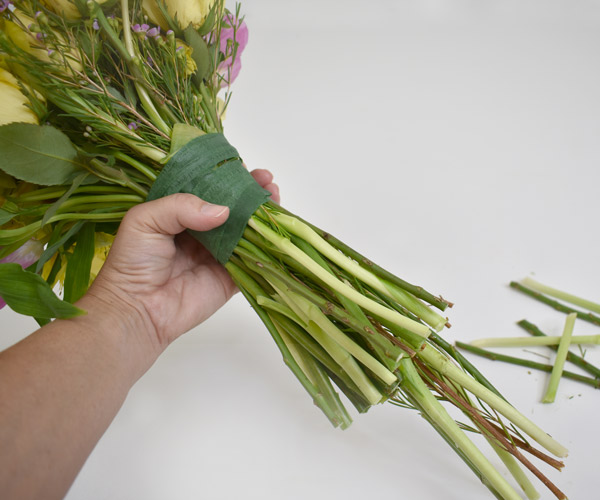
Cut the flower stems the same length.
Step 4- Wrap the Bouquet Stems with Ribbon
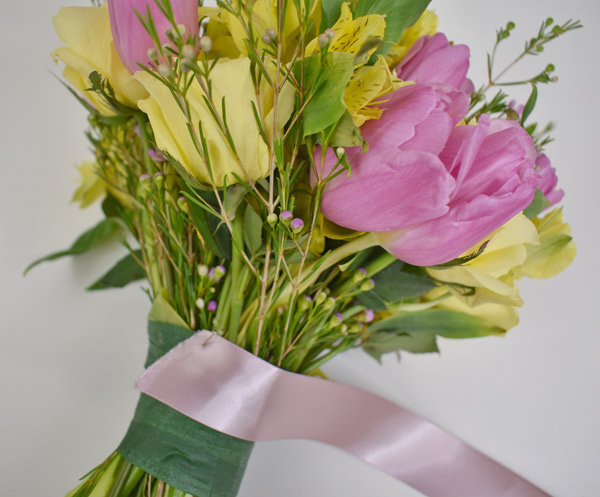
Use floral tape as your guide and pin the ribbon horizontally to cover the floral tape. Wrap downward until the floral tape is covered and pin to secure the ribbon. (DIY Tip- wrap bouquet stems with two different ribbon colors.) Finish with three decorative bouquet pearl pins.

We offer fabulous resources for DIY flowers. You will learn everything from DIY flower prep, pairing flower colors and textures, to floral supplies you will need. Explore these helpful resources to help you choose flowers, greens, and supplies that will bring your dream flower arrangements and bouquets to life!
Discover more ways to use yellow in Yellow Flower Wedding Inspiration and Guide to yellow flowers.
Tina Merola
As a professional designer with over twenty years of industry experience, Tina's lifelong creative passion has enabled her to pursue her artistry and vision in various professional environments. Drawing on her knowledge from floral techniques and tips from the industry’s leading professionals allows her the opportunity to channel her love of the unique beauty of nature’s many wondrous blooms into stunning floral designs.


I love the yellow flower arrangements. Thanks for sharing this creative post!