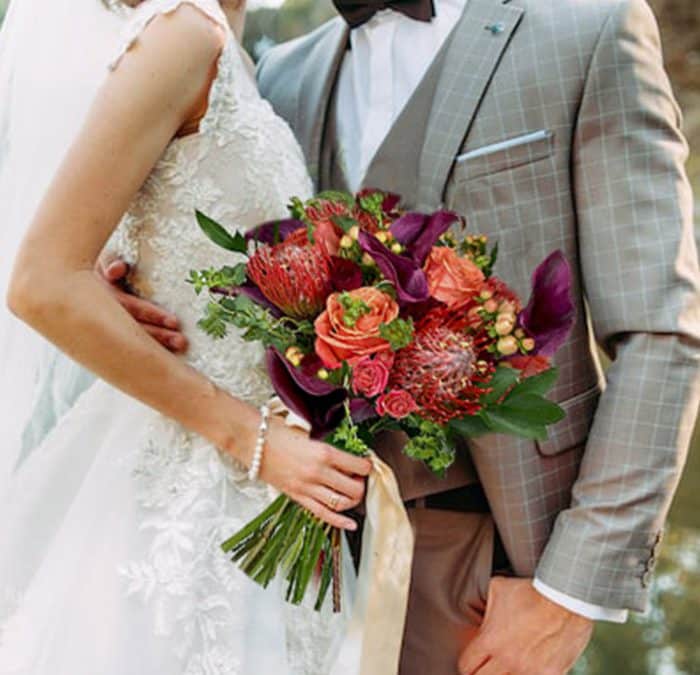
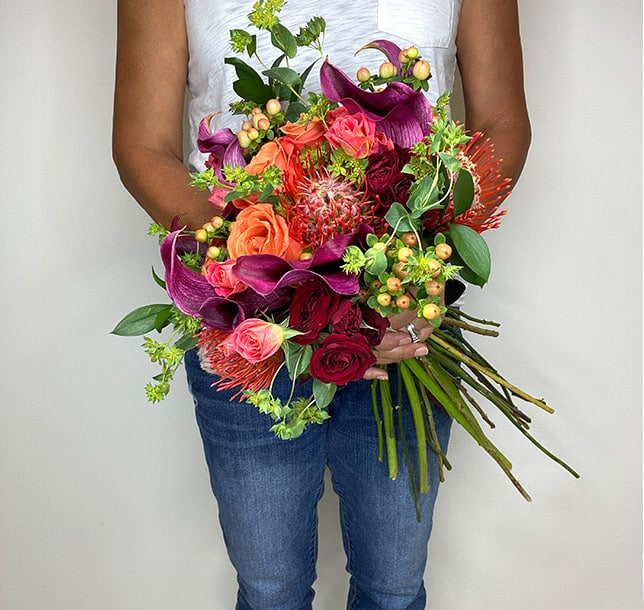
Dreaming of DIY’ing your wedding orange bouquet but not sure where to start? Learn the basics on how to create a DIY bridal bouquet. With just a few fall-colored focal flowers and fillers, beautiful greenery, and inspiration, you can easily create your fall bridal bouquet in just a few steps.
Whether you’re feeling inspired by fall or classic colors, choose from a color palette that compliments the season and gives you that fall feel. Add dimension by choosing a variety of colorful blooms in different sizes. Follow along with my easy step-by-step tutorial below. Shop for everything you’ll need here.
Supplies you will need:
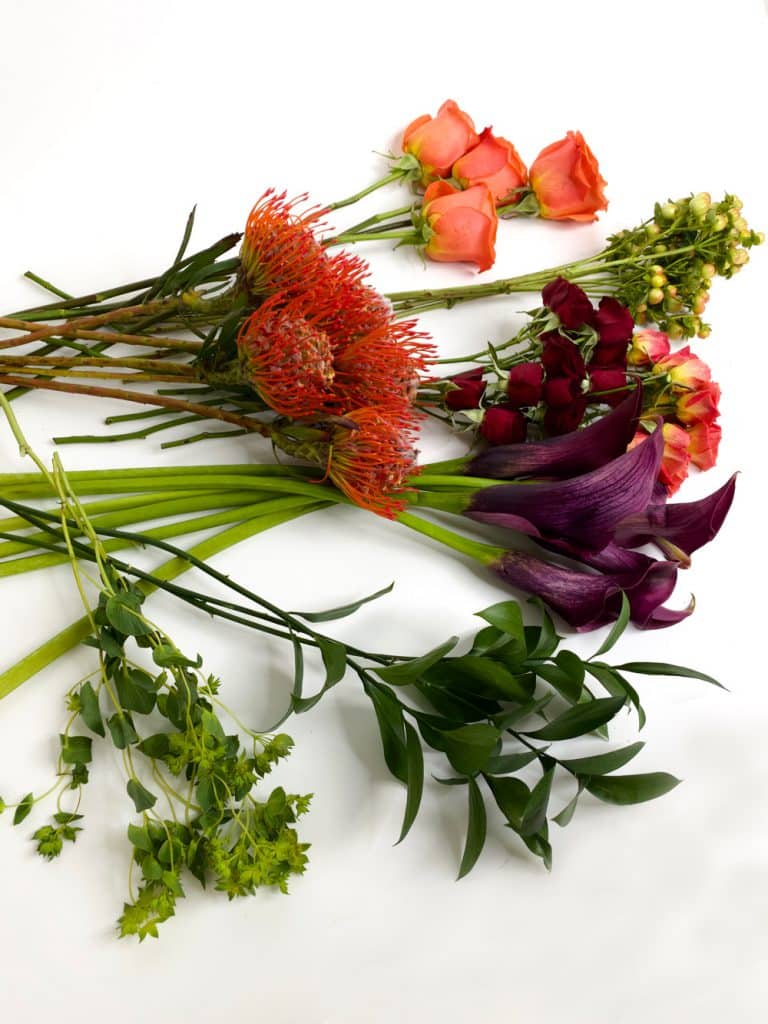
6 stems of Burgundy Mini Calla Lilies
5 stems Orange Protea Pincushion
5 stems of Orange Roses
2 stems of Red Spray Roses
2 stems of Orange Spray Roses
3 stems of Peach Hypericum Berries
3 stems of Israeli greenery
5-6 stems of Bupleurum Flower
Ribbon
Floral Tape
Floral Scissor
Remove Rose Guard Petals
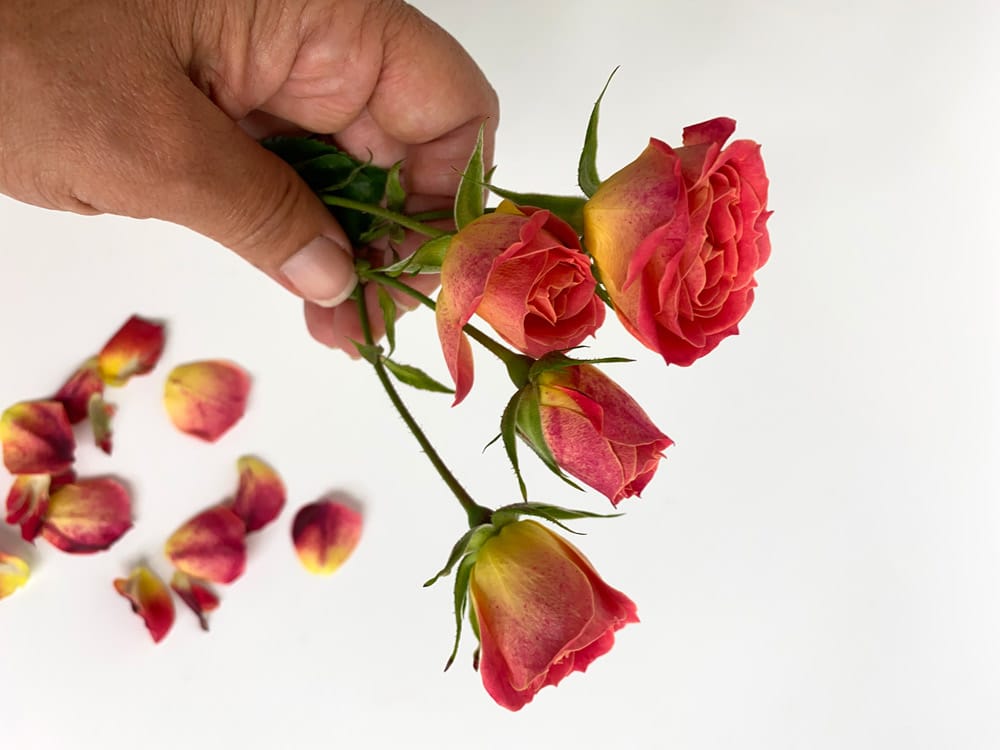
Prepare and clean all your stems before starting. Remove all the leaves from the stems and the guard petals from the roses. Watch this quick video on How to Remove Guard Petals.
Creating the DIY Bridal Bouquet Base

Give your bouquet structure by starting with focal blooms. I started with the orange pin cushions combined with a rose and calla lily for this design.
Build Out Your DIY Bridal Bouquet Design
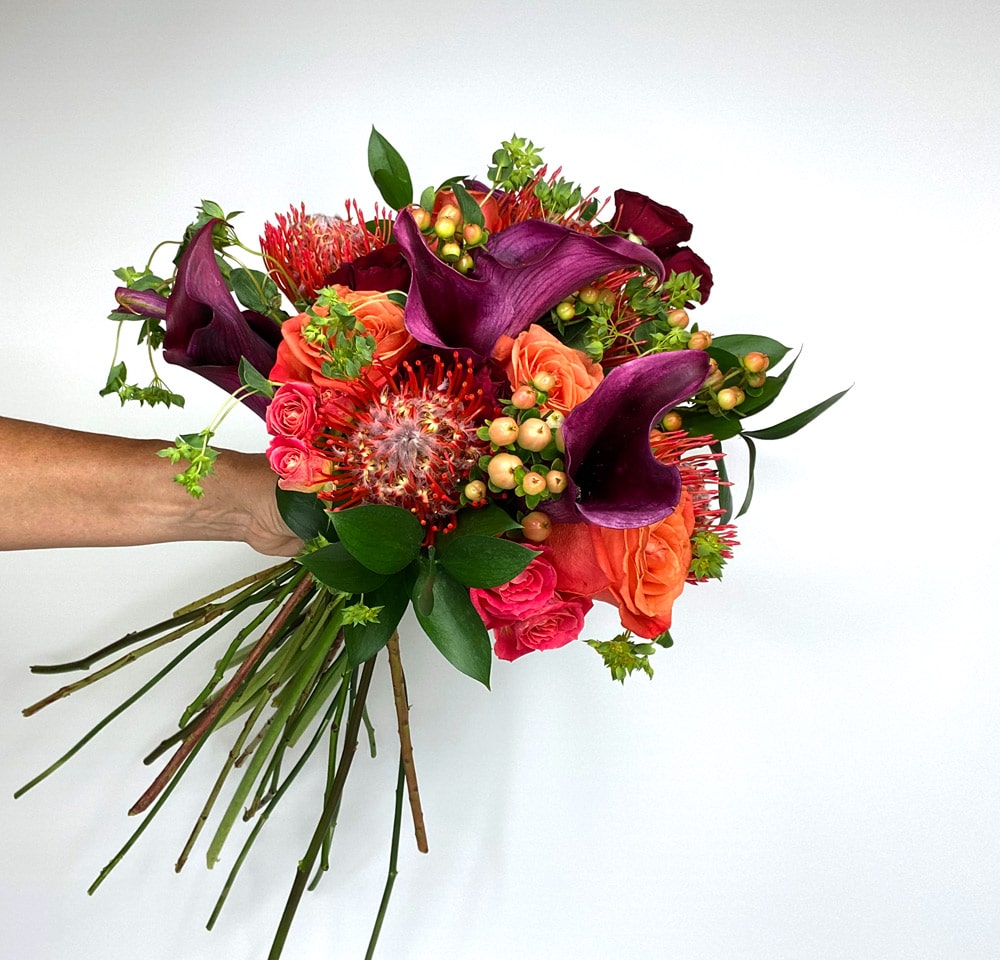
Once you’ve created your base, begin to fill in with flowers alternating them. Build out your floral design slowly, placing similar colors on each side of the bouquet to create balance.
Add Dimension to Your Bridal Bouquet
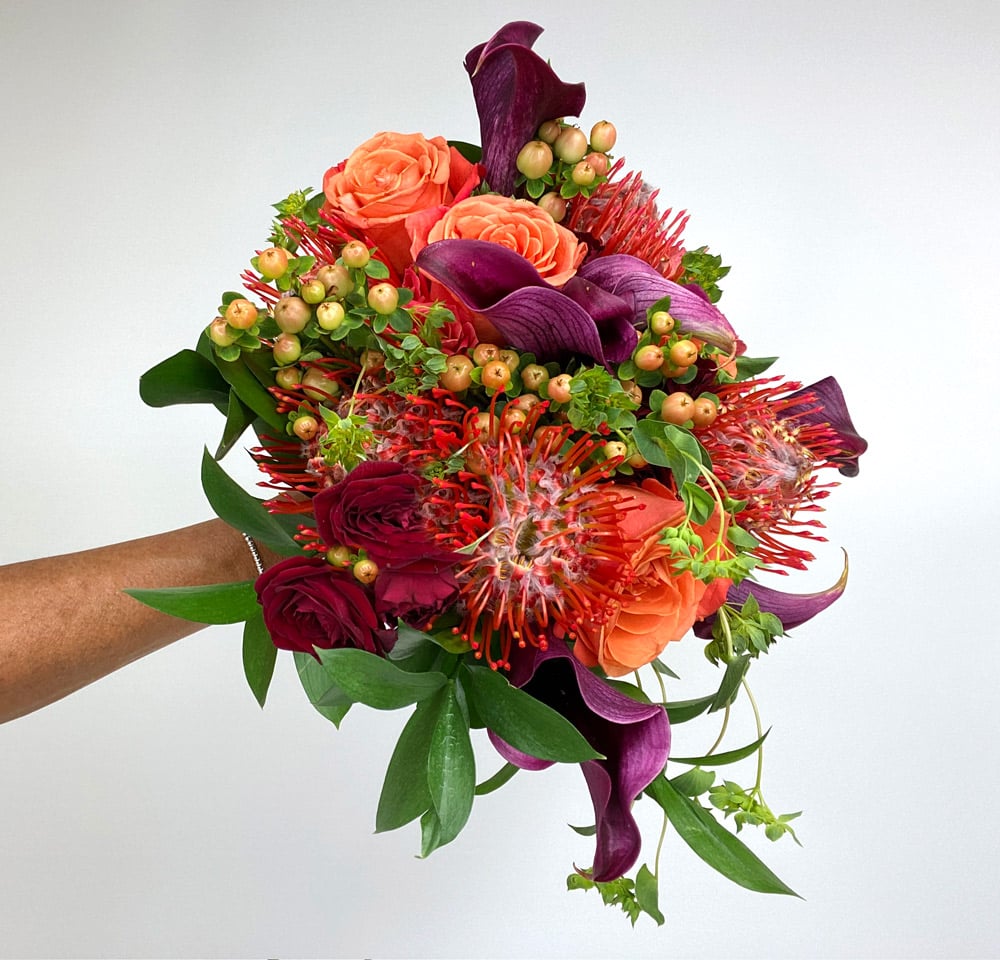
To create depth and dimension in your design, look in a mirror while building your bouquet, holding it as you would walking down the aisle. Adjust the flowers as needed.
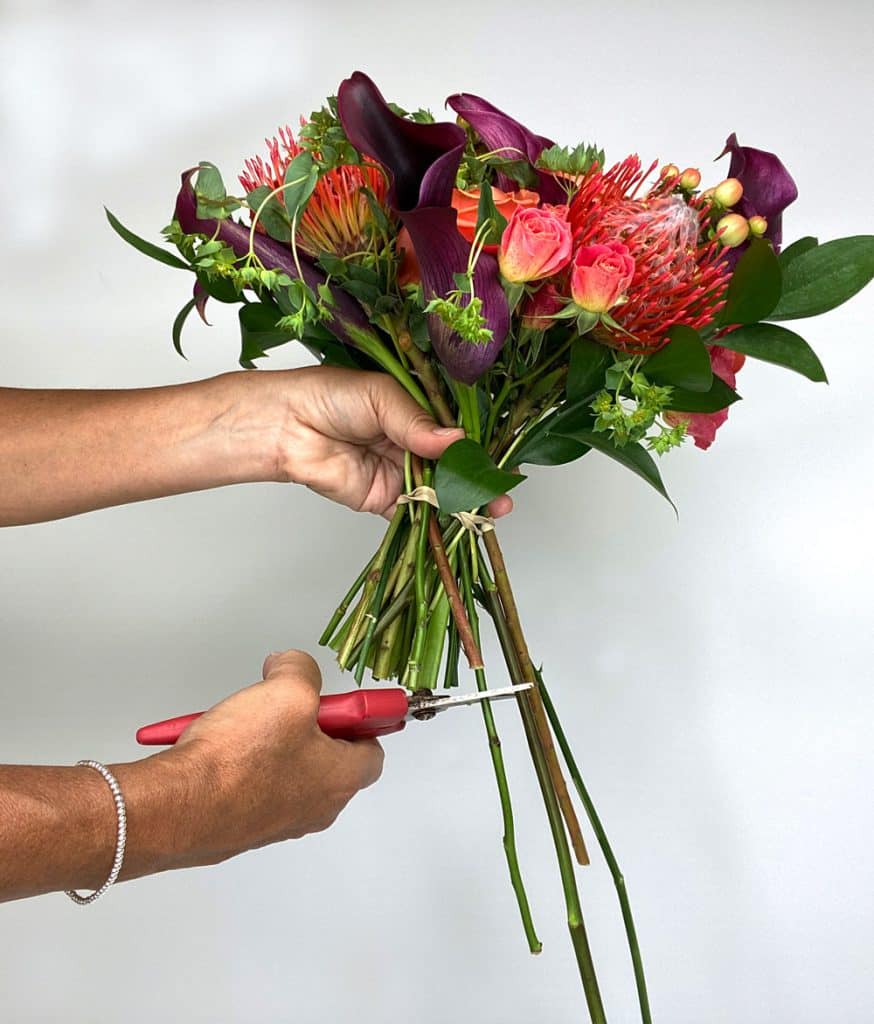
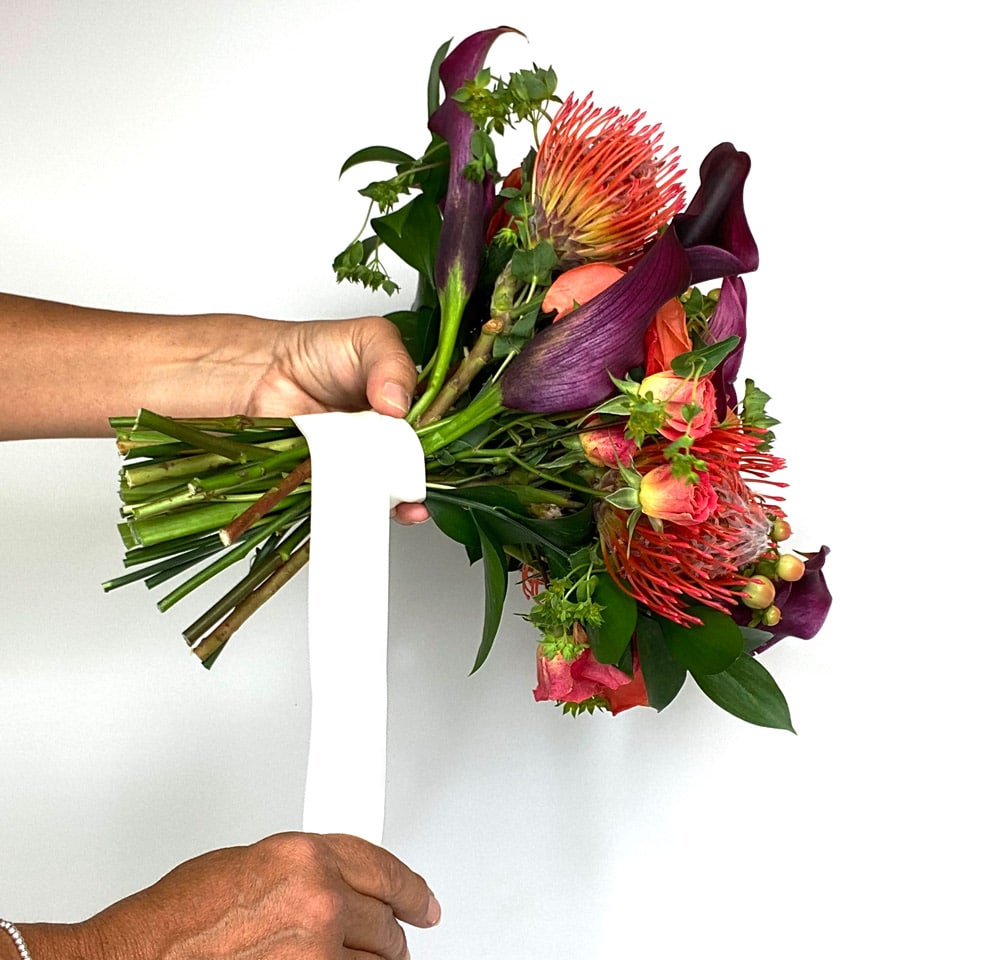
Finish your design by using a zip tie or rubber band to hold the stems and clipping the stems, and covering the floral tape with ribbon.
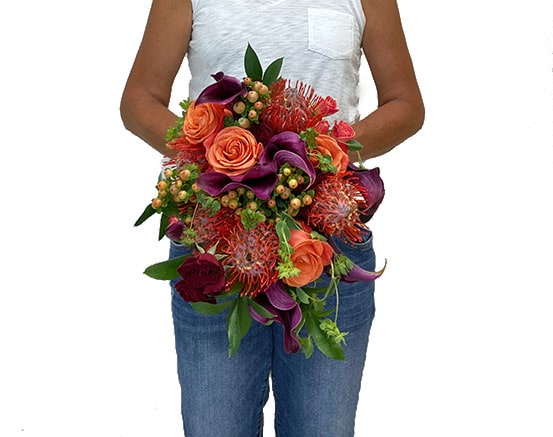
Once you’ve completed your design, hold it in front of a mirror. This will help you make final tweaks and give you an idea of how you’d like it to lay in photographs. Place the stems in water to keep the flowers rehydrated to store your bridal bouquet.
There are no rules, so let your personality shine through in whatever you decide to make—looking for some more DIY wedding design inspiration? Here are some great DIY hair tips!
Tina Merola
As a professional designer with over twenty years of industry experience, Tina's lifelong creative passion has enabled her to pursue her artistry and vision in various professional environments. Drawing on her knowledge from floral techniques and tips from the industry’s leading professionals allows her the opportunity to channel her love of the unique beauty of nature’s many wondrous blooms into stunning floral designs.