
If you are going through peony-withdrawal like us, this garden rose tutorial should bring you a sweet smile. Garden roses are the perfect substitution for the ever popular peony. They are available all year and come in a wider variety of colors (a total win-win situation). You may be surprised at how easy it looks to make a garden rose bouquet. Trust us, looks are not deceiving with this tutorial. It really is this easy. There is no behind the scenes expert floral work happening in between each picture. So let us take you step by step and show you how to make a garden rose bouquet.
For starters, when it comes to wedding flowers we recommend receiving them two days before the wedding. So if the wedding is on Saturday, we would recommend using a ship date of Wednesday, this means the flowers will ship out on Wednesday and arrive Thursday. This gives you Thursday to cut them, put them in water, and allow them to hydrate over night. Then you can do your arranging on Friday or Saturday morning. Bouquets made on Friday can sit in about an inch of water over night, to do some extra hydrating, before it is ready for show time!
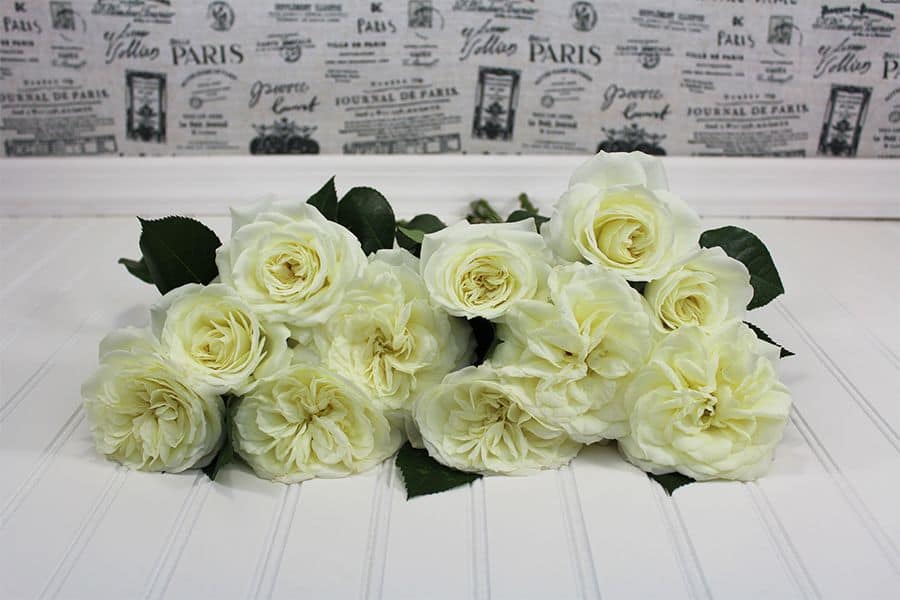
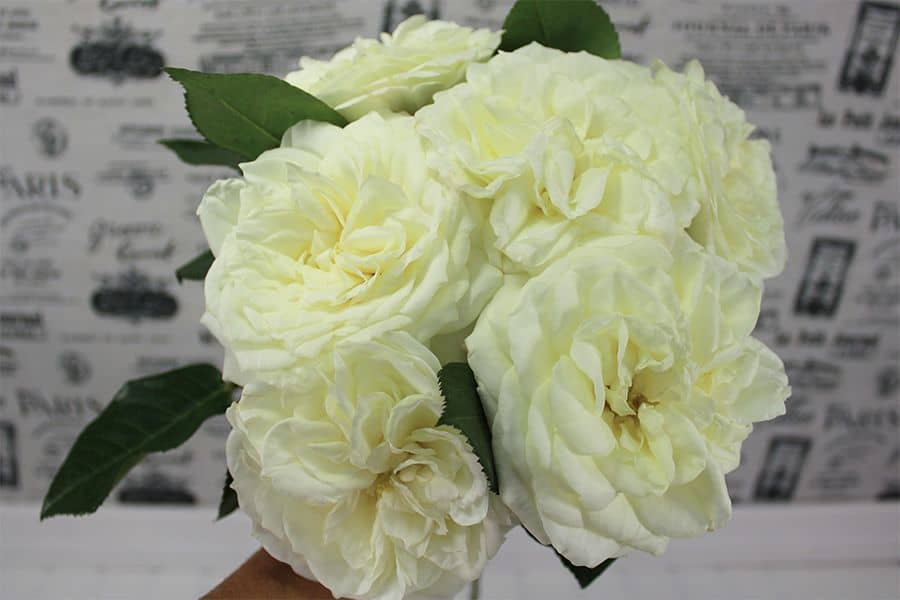
So this is what our garden roses looked like after two days of hydration, they are fully bloomed and ready to be arranged!
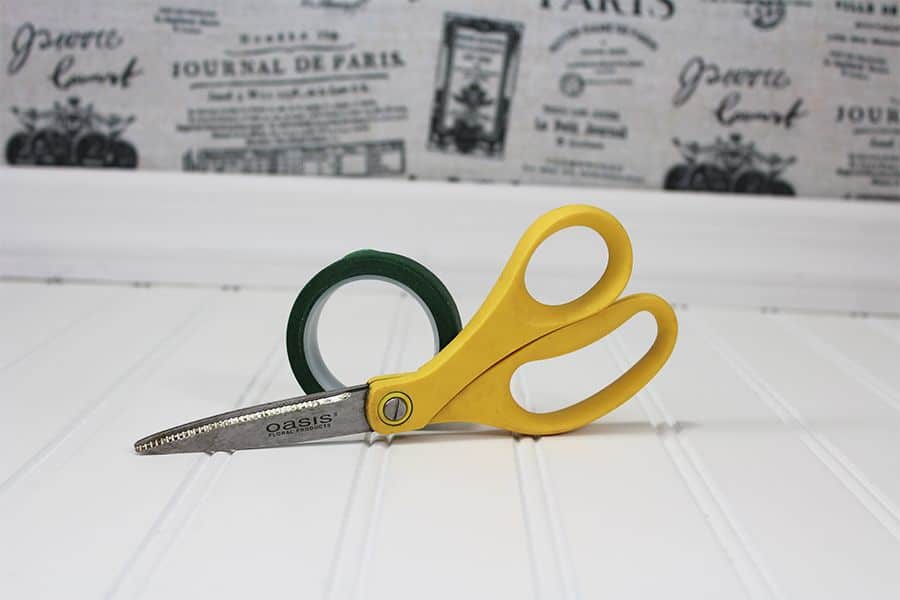
For a garden rose bouquet, all you need is 1 bunch of garden roses, floral scissors, and floral tape (also known as stem wrap)! Most of our garden roses come in 12 stem bunches, and a bouquet will take 8-10 stems depending on how big you want the bouquet to be. As seen above, in this tutorial we used 10 stems the lovely Garden Rose Alabaster White.
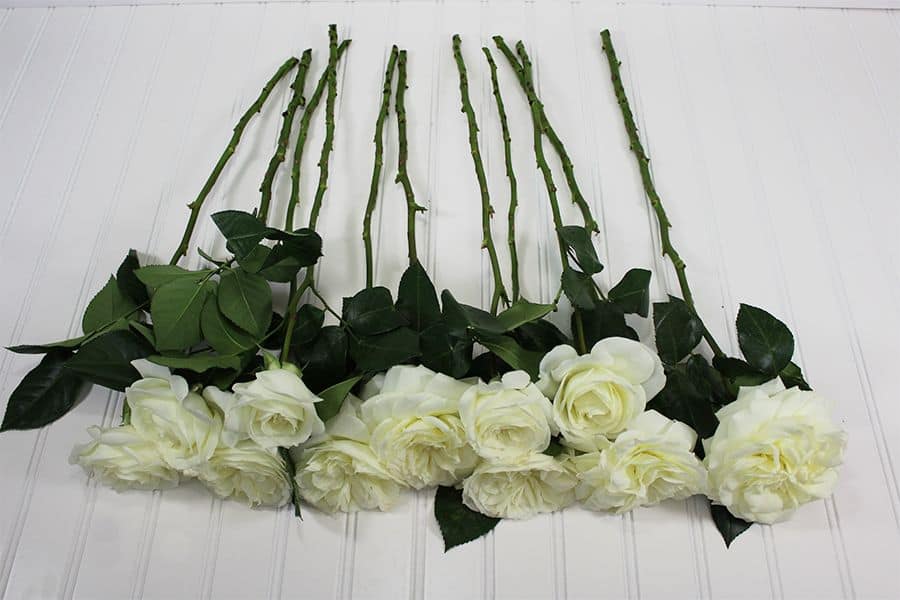
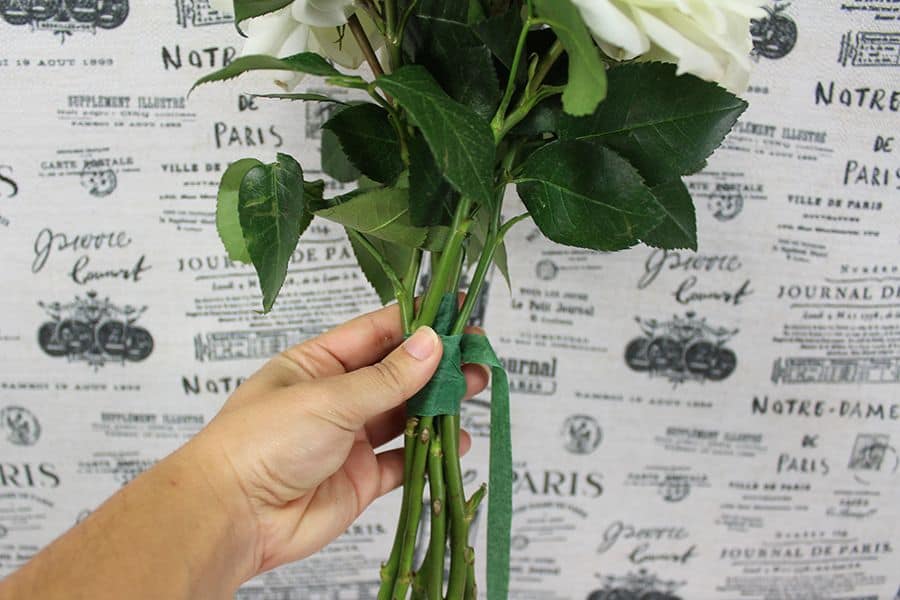
We trimmed the stems a few inches so they were a little longer than 1 foot. We also removed any leaves that were on the lower portion of the stem. The leaves on garden roses are really beautiful. So instead of getting a bunch of greenery for your bouquet, the top few portions of leaves coming off of the garden rose work wonderfully (and make this an ever easier process)!
Start by taking 3 stems and putting them together to make a triangle shape. This will be the center of the bouquet.
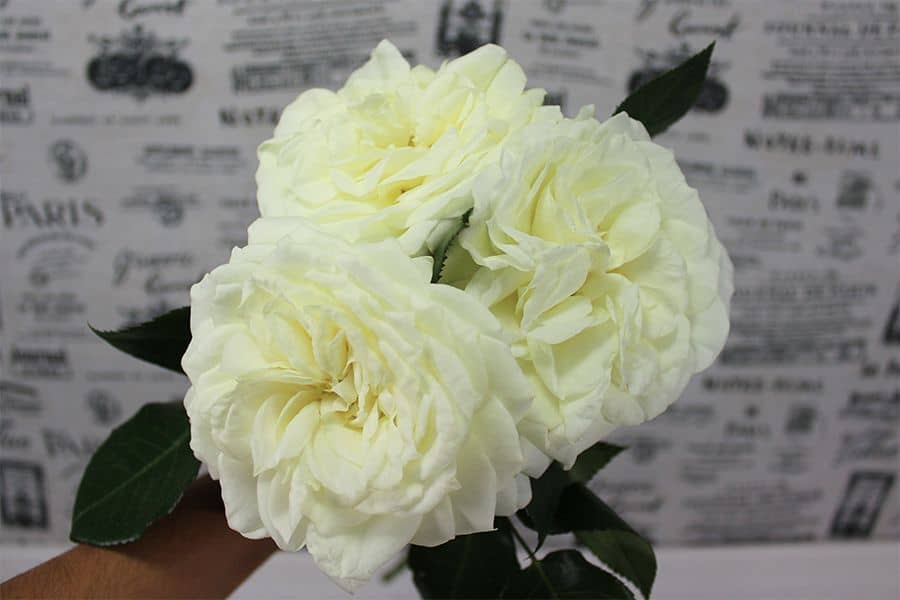
Once the 3 center garden roses are at a good height and in the position you want, use the floral tape to wrap the three stems together. The floral tape will stick to itself, so once the stems are secured together you can cut the tape and pull it tightly against the rest.
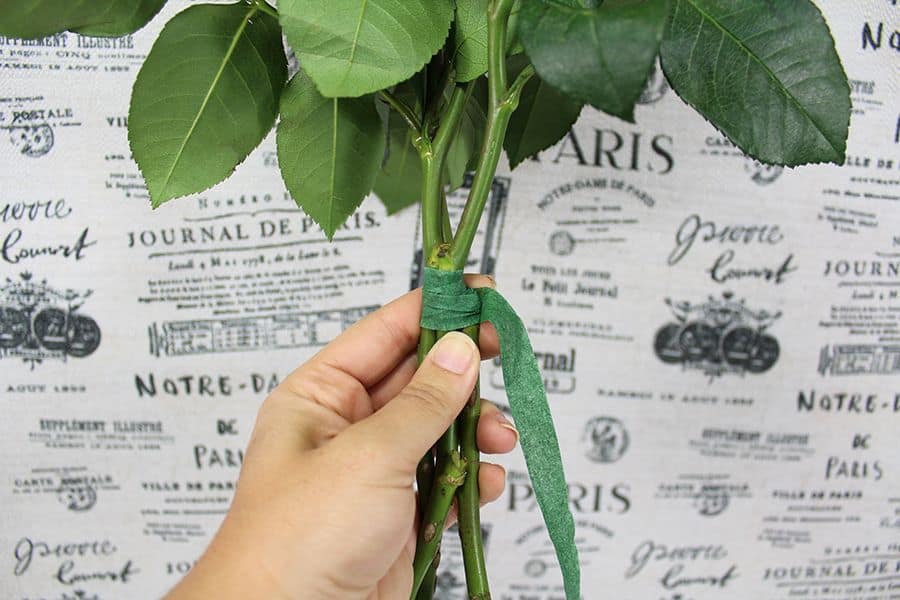
Then take 3 more stems and fill them in on each side of the “triangle” shape that was made with the first 3 stems.
Then go ahead and repeat the stem wrapping process. The stems and second layer of floral tape will overlap the previous floral tape.
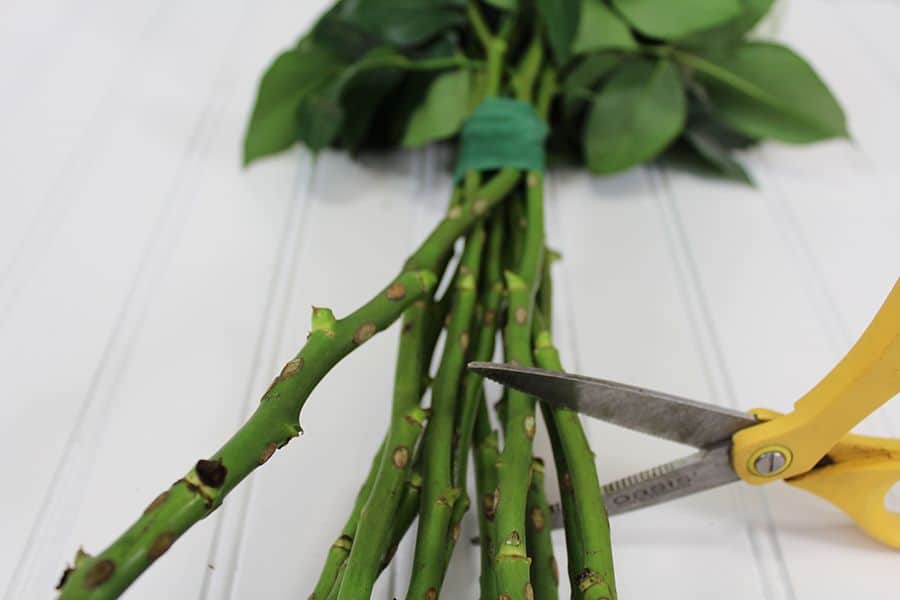
Use the remainder of the stems to add to the bouquet until you get the shape you want. Secure your last stems with the floral tape again. Then you can trim all of the stems so the bottom is even and the stems are the length you want.
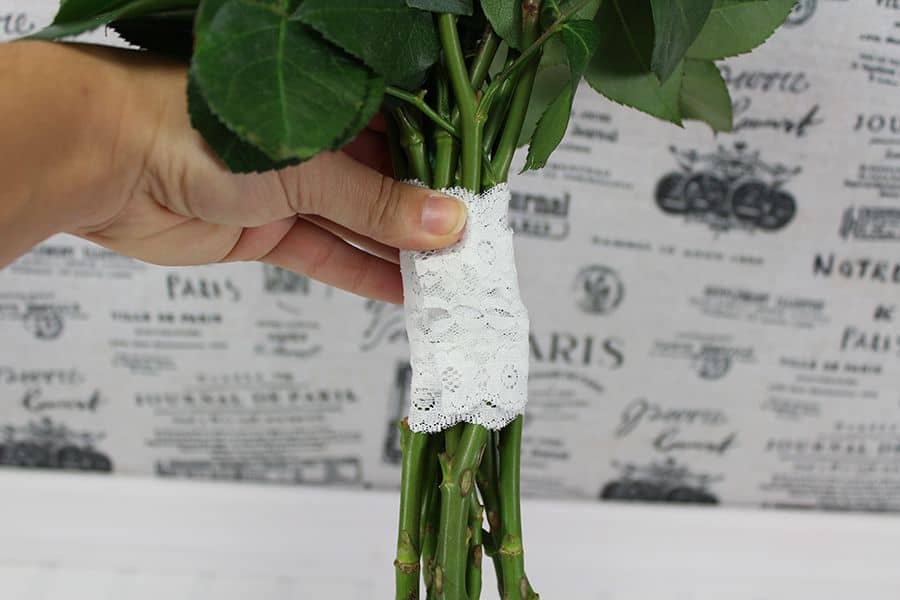
Now if you want, you can cover the stem wrap in, lace, ribbon, material, etc. We used some lace and secured it with pins.

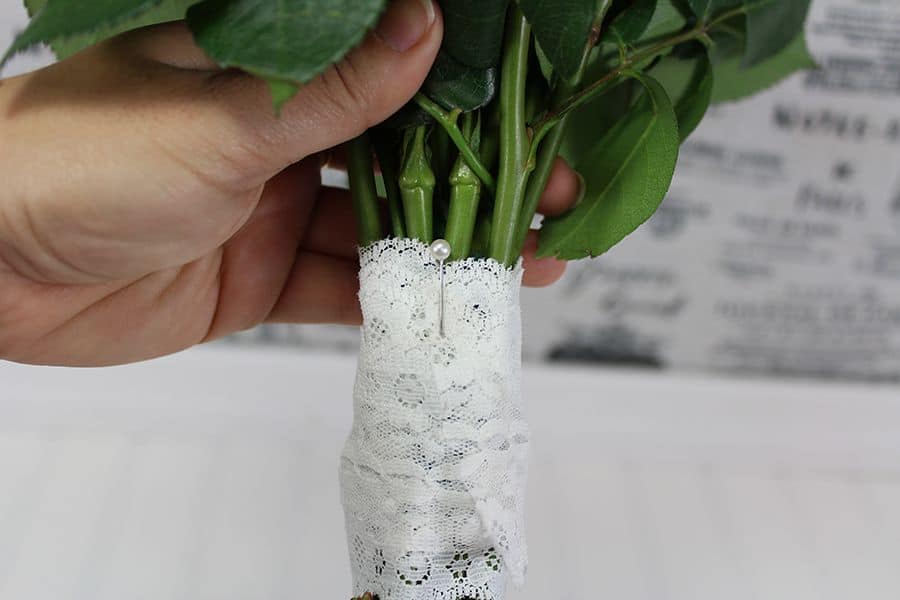
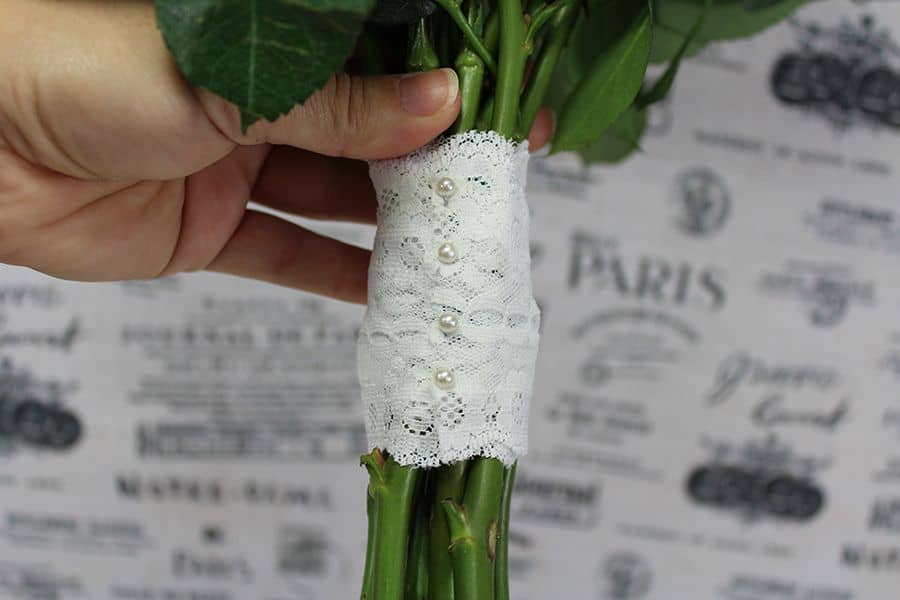
Once the pins are in, your bouquet is set!
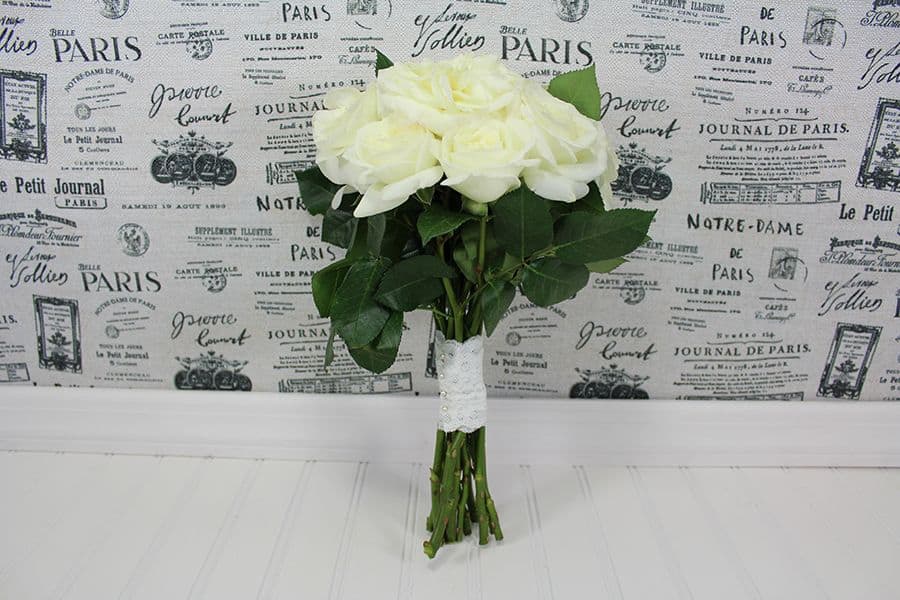
You just learned how to make a garden rose bouquet! It’s that easy! We promise. Questions? Let us know!
Alana Meccia
Alana loves to create helpful flower tutorials for DIY brides because she is one herself!


I am really impressed with this great idea to make a garden rose bouquet. Beautiful work 🙂 Waiting for your new interesting post. Thanks for sharing!
The Idea Behind flowers bouquet readiness at your own costs you less than the flower shops.
Hey Alena,
Thanks for the nice diy idea for flower bouquet. It looks very pretty when it is ready. We can use this bouquet as a wedding bouquet to the bride. It will increase beauty to her dress up. For sneak peak visit PartyCruisersIndia.Com