We are channeling the approach of wedding season with a new spring wedding bouquet recipe! We have caught spring fever, and we are ready for the weddings to come this season!
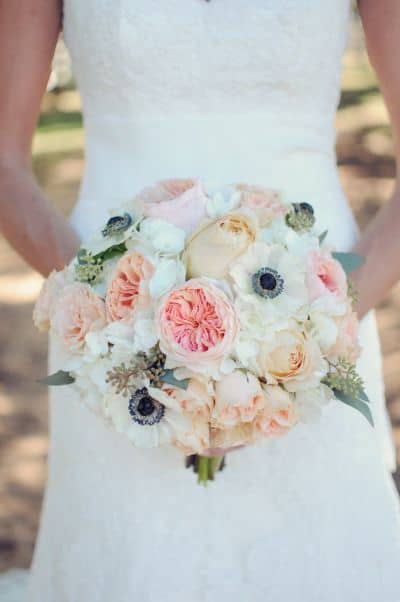
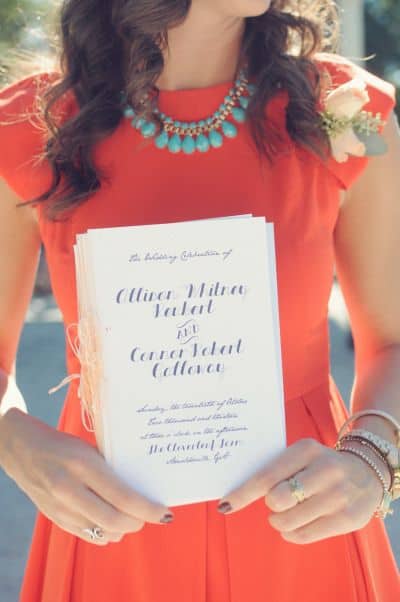
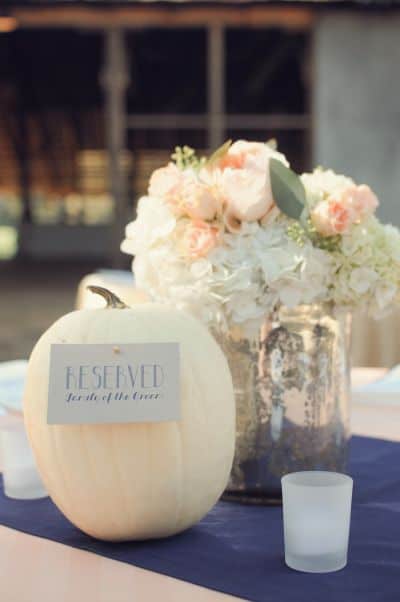
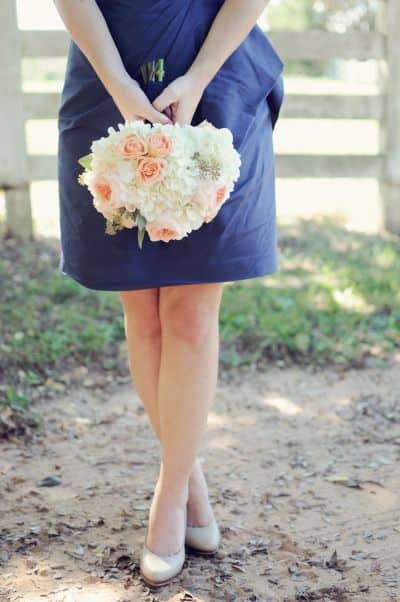
Brace yourself for the gorgeous Georgia wedding, beautifully captured by Alea Moore Photography and seen on Style Me Pretty. Set at the lovely Cloverleaf Farm, this wedding is all types of rustic combined with all things romantic, with J.Crew loveliness and beautiful flowers from Gardenia Floral Design. The bouquets are everything you could want in a spring wedding. The navy, peach, and pink color combo is never shy of stunning, and this wedding is proof of that. And we loved it so much that we wanted to give you a simple spring wedding bouquet recipe to show you how to make a bouquet just like this one seen below!

Here is a list of what you need:
Flowers
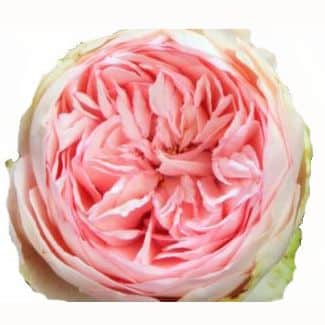
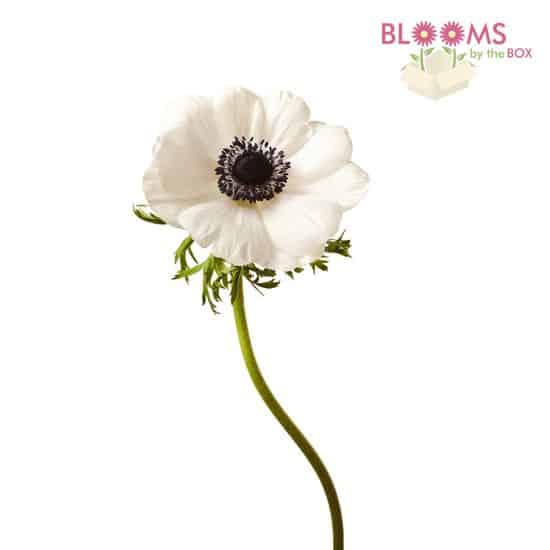
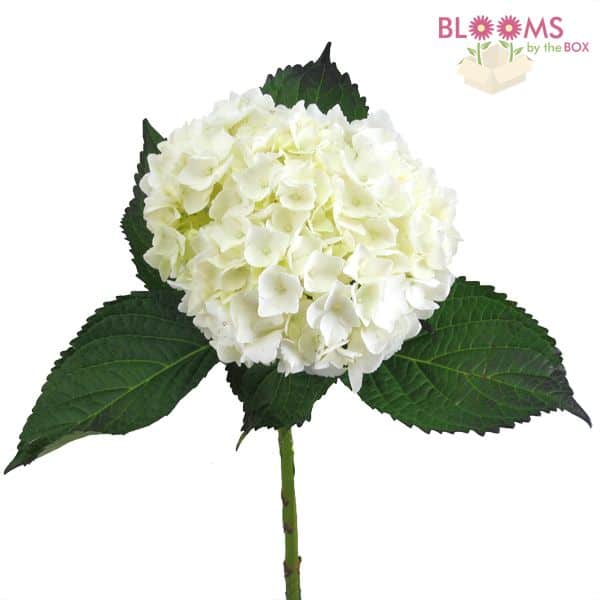
Garden Rose Bridal Piano Anemone White Large Hydrangea White
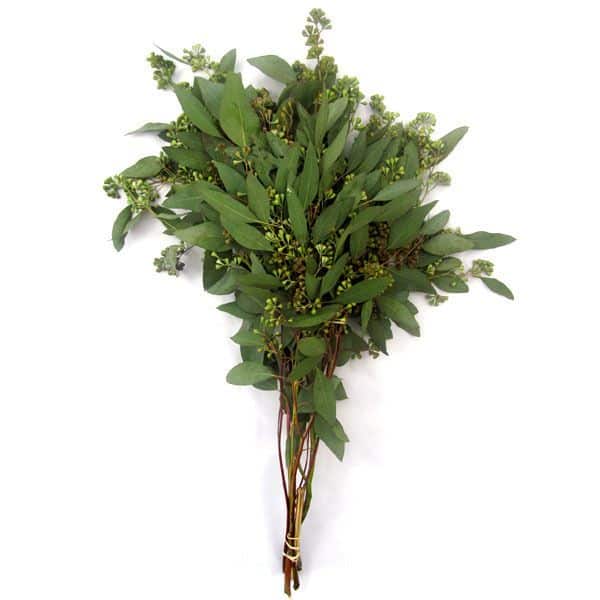
Rose Peach 50cm Seeded Eucalyptus

Supplies
Floratape Stem Wrap Floral Scissors Ribbon/Bouquet Wrap Corsage Pins
Making the Bouquet
(Note: To make one bouquet this size, one bunch of each flower will be enough and there will be some stems left over.)
1. After hydrating your flowers, prep them by removing the foliage. Lay them in front of you to make them easily assessable for design.
2. Starting with hydrangea, begin to incorporate 1 stem of each kind of flower by nestling them between the hydrangea blooms. Create yourself a round shape and then secure your first layer with the floral tape.
3. Add additional stems of each type of flower, again starting with the hydrangea, incorporate your other flowers into the hydrangea blooms nestling them so you can see the hydrangea peak through. Follow by securing each additional section with floral tape.
4. Continue this step over and over until the desired shape is reached. Once you achieve the shape you like, tuck sprigs of seeded eucalyptus into your bouquet for that added touch of texture and color. Follow with one more wrap of floral tape to secure.
5. Wrap the stems with your choice of ribbon around the bouquet until no more floral tape is showing.
6. Use the corsage pins to secure the ribbon in place.
(Here is one of our step-by-step flower photo tutorials for more bouquet assistance.)
Tahdah!
See the full wedding, all its lovely details, and the amazing work of Alea Moore Photography here on Style Me Pretty.


Alana Meccia
Alana loves to create helpful flower tutorials for DIY brides because she is one herself!