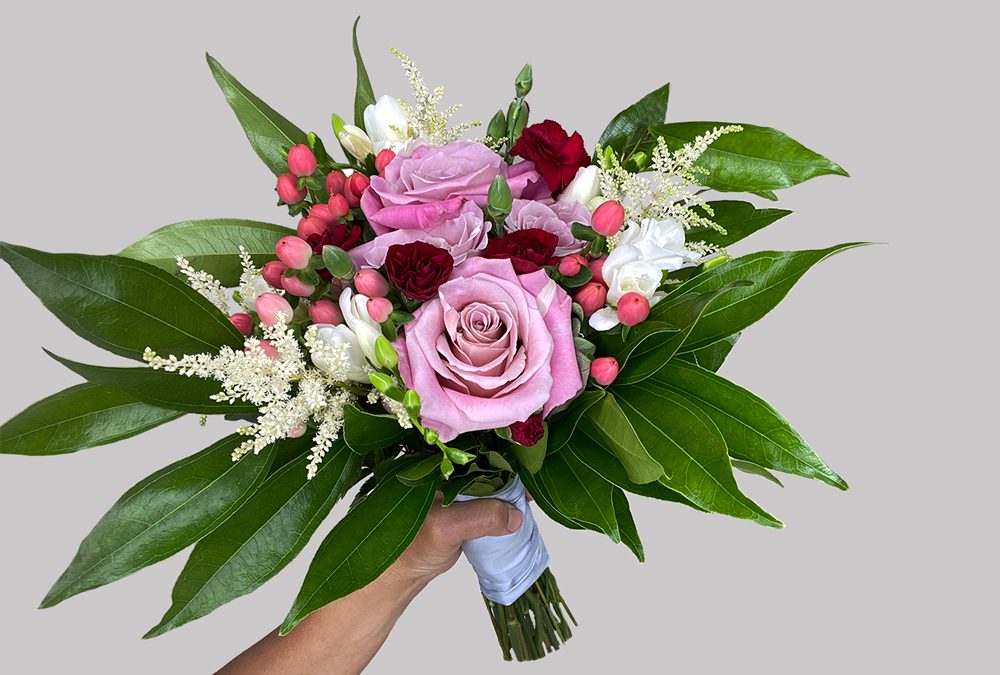
Have you ever thought about DIY’ing your wedding bouquet? If you’re trying to keep your wedding costs under control, DIY’ing your wedding flowers is a great place to start. Many brides are putting their creativity into DIY’ing their wedding bouquets; without sacrificing style. Follow these simple steps on “how-to” DIY this trending bouquet for your wedding day.
Begin DIY’ing Your Wedding Bouquet
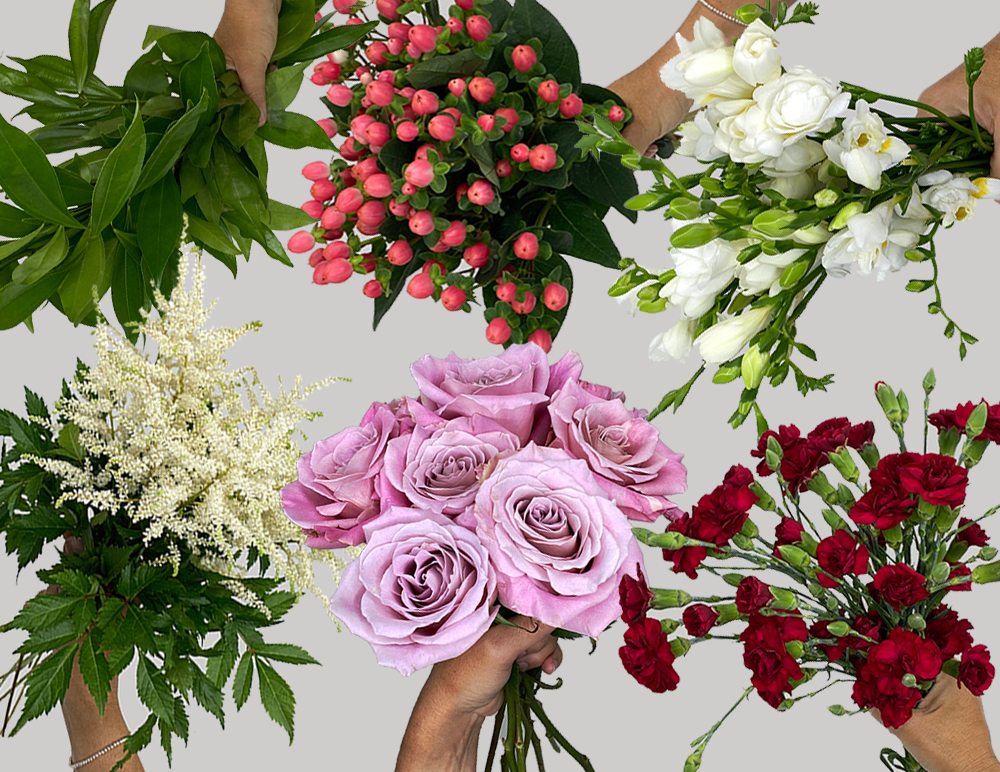
Flowers and supplies needed:
10-12 Stems of Faith Roses
3-4 stems of Mini Burgundy Carnations
3-4 Stems of White Freesia
3-4 Stems of White Astilbe
4-5 stems of Pink Hypericum Berries
3-4 Stems of Cocculus Greenery
Floral Tape
Ribbon
Floral Scissor
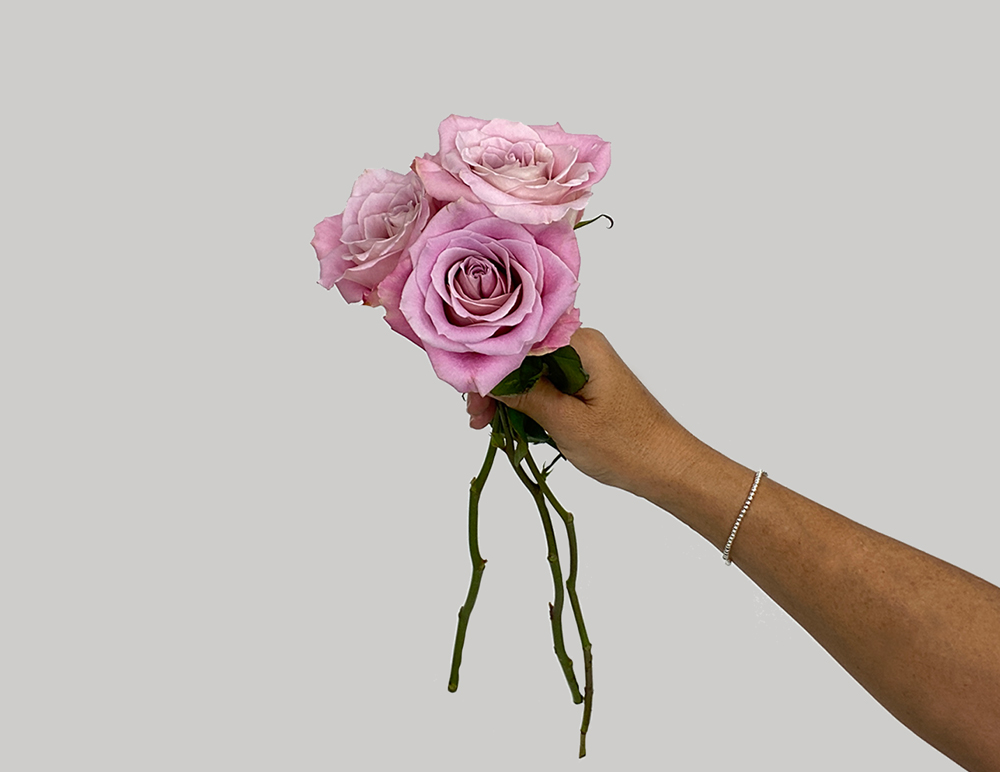
Prep Your Roses
Here is a short video on “How to remove the guard petals.” De-Thorn roses and cut the stems approximately the same length.


Let’s Begin!
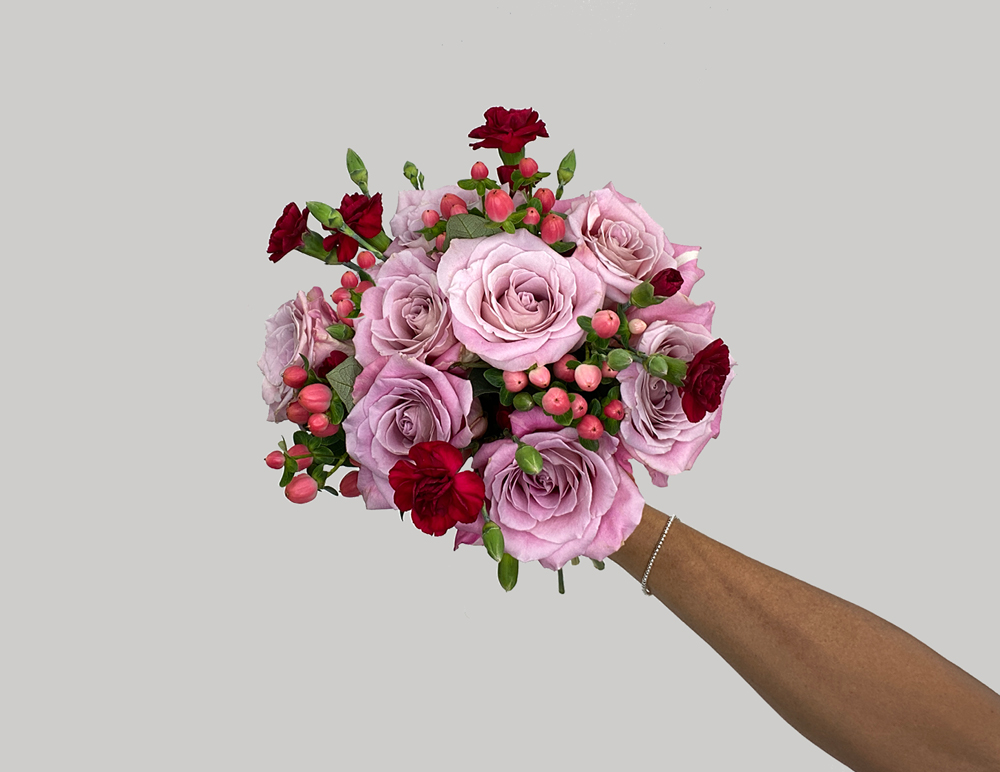
The focal flower in this bouquet will be the Faith roses. Faith roses are a favorite of mine! It is a soft pink with a hint of lavender and cream hues. It has a large head that opens nicely with plenty of petals. Begin with your roses in the center, making them the base of your bouquet.
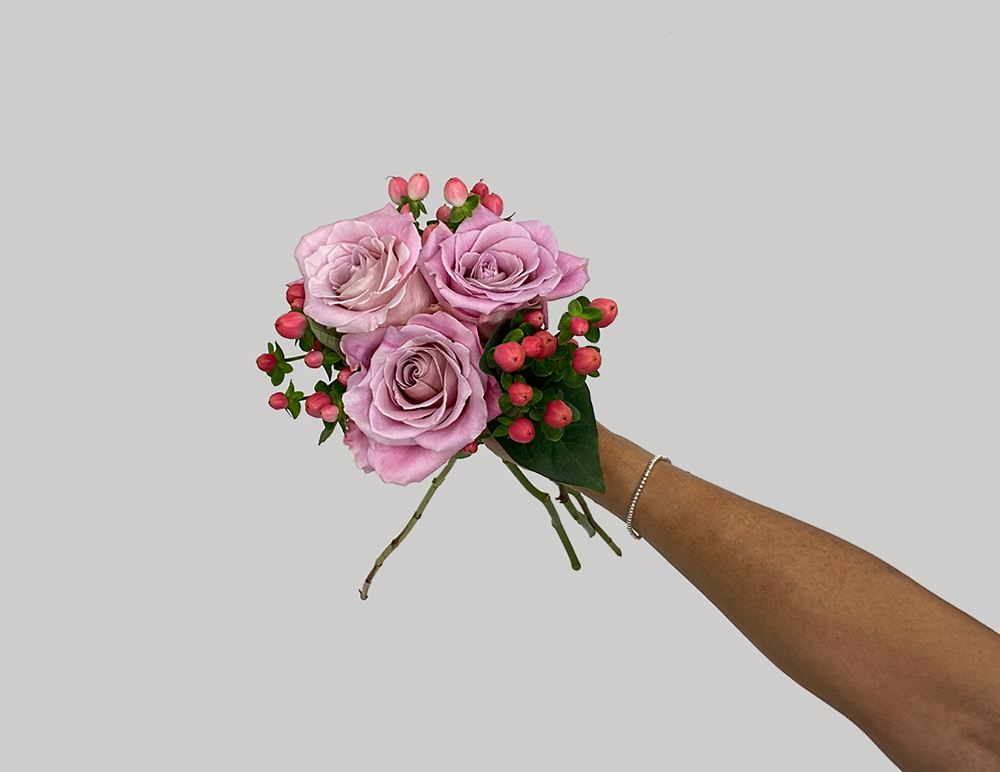
Next, add a few stems of the pink hypericum berries to the roses. I love the texture of hypericum berries. Then, mix in stems of mini burgundy carnations and continue adding roses forming the shape of your bouquet.
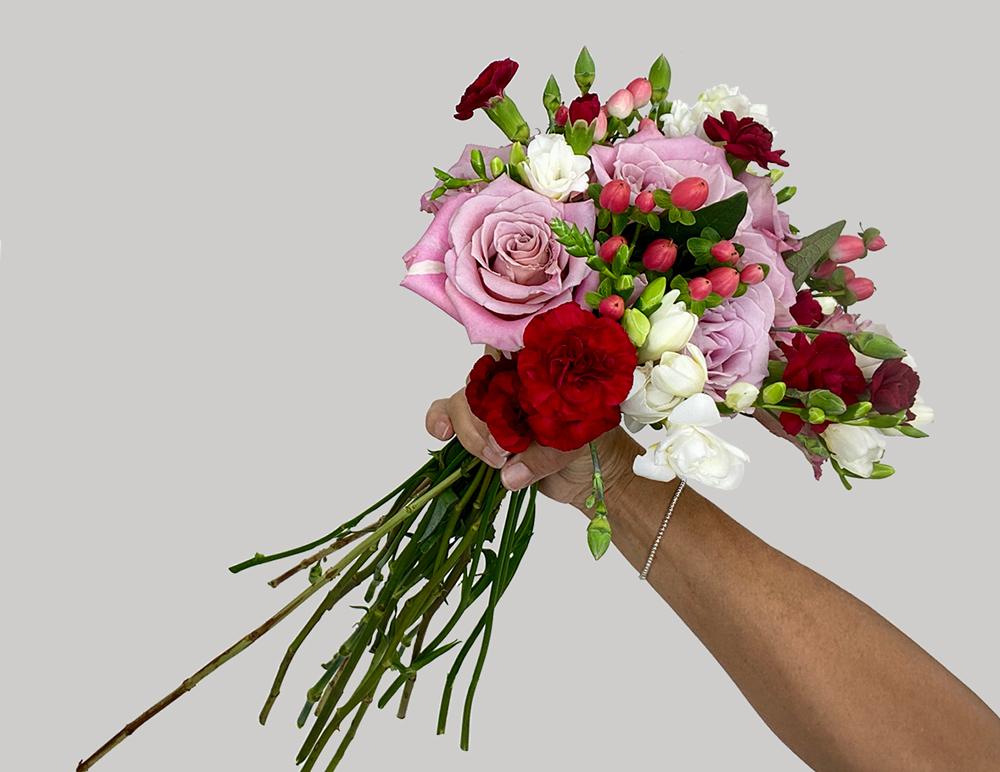
 Now add stems of white freesia holding a tight grip on the bouquet. You are doing an excellent job, and you are almost done!
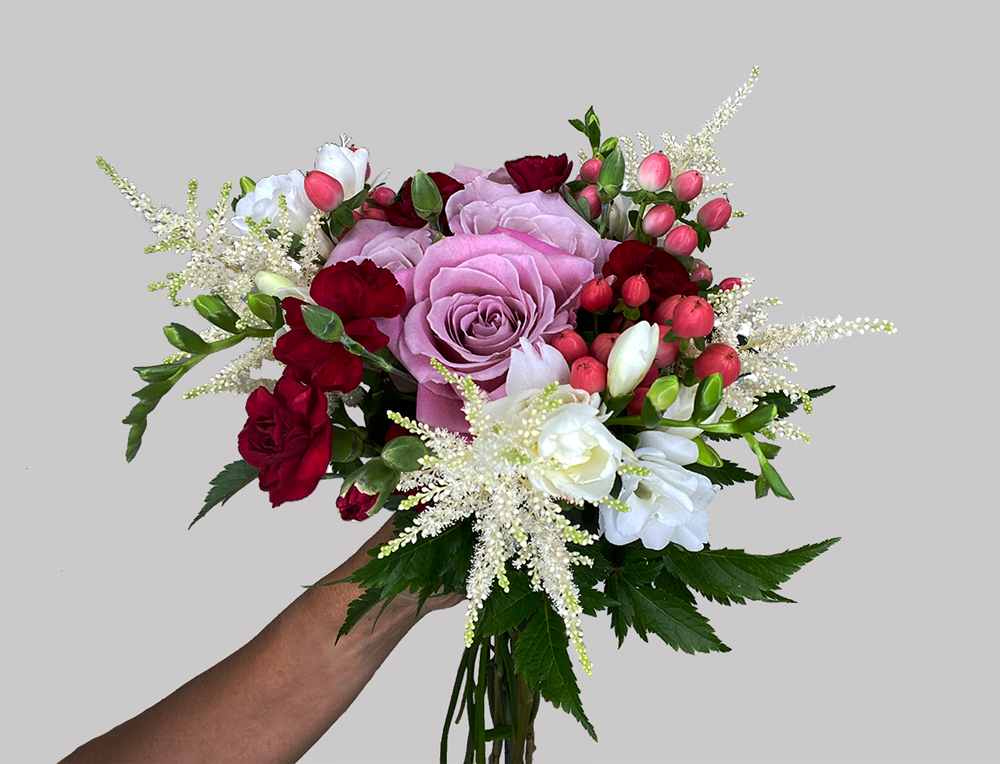
Finishing Touch
For the finishing touch, add greenery around under the blooms. When you are happy with the size of your bouquet, wrap floral tape tightly around the stems. Start under the blooms, approximately 2-3 inches down the stems. Securing the stems will ensure that the flowers are firmly held in place, leaving stems bare at the end. (*Note- You will cover the floral tape with the ribbon the morning of your wedding.)
Storing Your DIY Bouquet
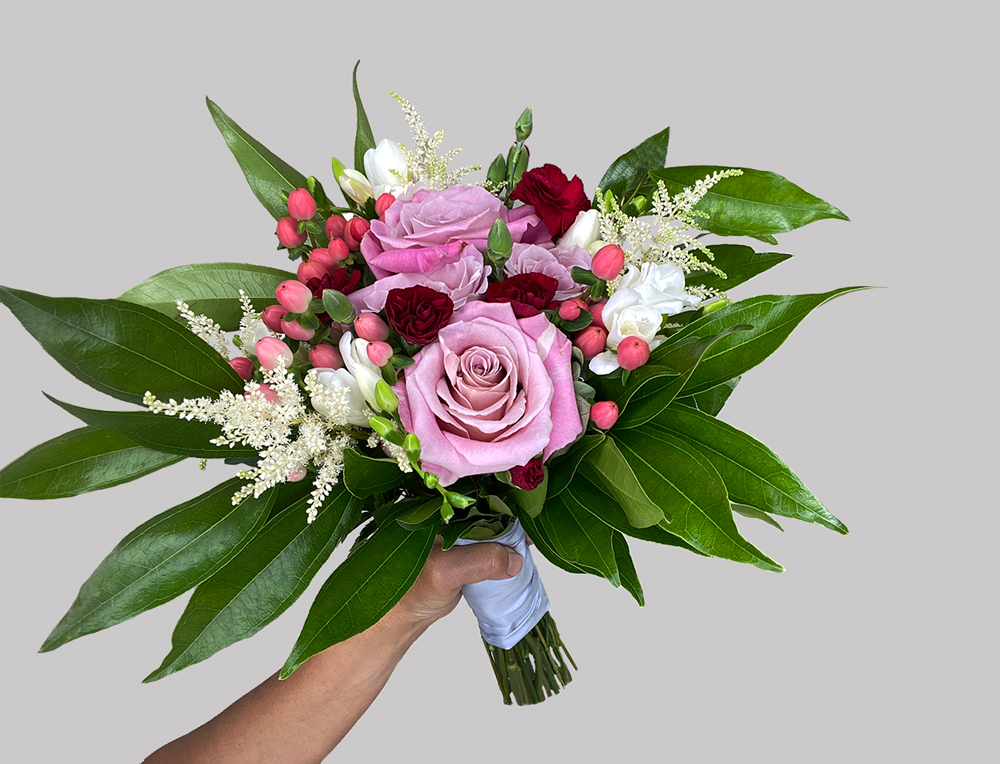
Place the bouquet’s stems in water overnight, in a dry, cool area to keep the flowers rehydrated for your wedding day. The morning of your wedding, leave time to finish your bouquet and wrap the stems with your favorite ribbon, securing the ribbon with bouquet pins: cut stems revealing as much or as little of the natural stems.
If you’re feeling inspired and want to DIY your wedding décor, check out our DIY centerpiece tutorials and more tutorials!
Tina Merola
As a professional designer with over twenty years of industry experience, Tina's lifelong creative passion has enabled her to pursue her artistry and vision in various professional environments. Drawing on her knowledge from floral techniques and tips from the industry’s leading professionals allows her the opportunity to channel her love of the unique beauty of nature’s many wondrous blooms into stunning floral designs.